CloudaIDE Designer Installation
CloudaIDE designer (programmer tool) for the CloudaIDE Framework is provided for 64 bit Windows and Linux environments. CloudaIDE Designer is an Eclipse application. Therefore many things relevant to Eclipse are also relevant to CloudaIDE.
Note
Whenever you import a project into a workspace, rename or copy it, iit is necessary to use CloudaIDE ➜ Update Maven Project option on the new project. This option sets temporary folders to reside within new project directory. Otherwise the programmer could be asked to choose those folders (import) or the folders will reside in folders, that belonged to the project before those operations. Sorry for the inconvenience.
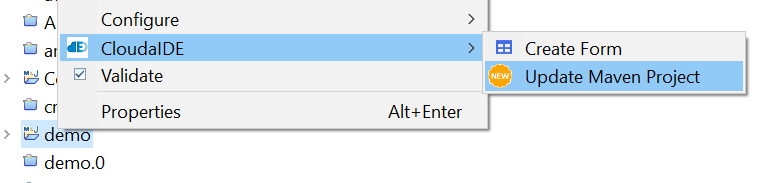
Figure 1.
Synchronising project
Database Server Objects Installation
In order to use CloudaIDE the database server has to have special supporting objects. Installation of these objects depends on the database server.
The installation instructions for particular databases can be found in the zip file System_and_demo_Database_*.zip in the folder relevant to the particular RDBMS. Currently Oracle, FirebirdSQL, MySQL, PostgreSQL, Teradata and MS SQL Server are supported. Every system installation files are under relevant folder. In the folder there is also a Cloudaide4* file with database specific texts and a mp4 video with datasource setup instructions for the database can be found.
Administration Application
CloudaIDE distribution contains the Administration Application. Administration application is a tool to administer/configure the CloudaIDE environment.
You don't have to install CloudaIDE right from the start to develop software. The compiled admin application can be found within supplied template Tomcat (at.xxx.tar.gz), under %TOMCAT_ROOT%/webapps directory. There are two admin versions: adminMSQL (for MySQL) and admin for other databases. To configure JDBC connection parameters use xml files with respective names, that reside in the %TOMCAT_ROOT%/conf/Catalina/localhost directory. CloudaIDE also supplies source code for the admin application. The source code can be found in the "projectsxxx.zip" file.
On startup the application displays login form.
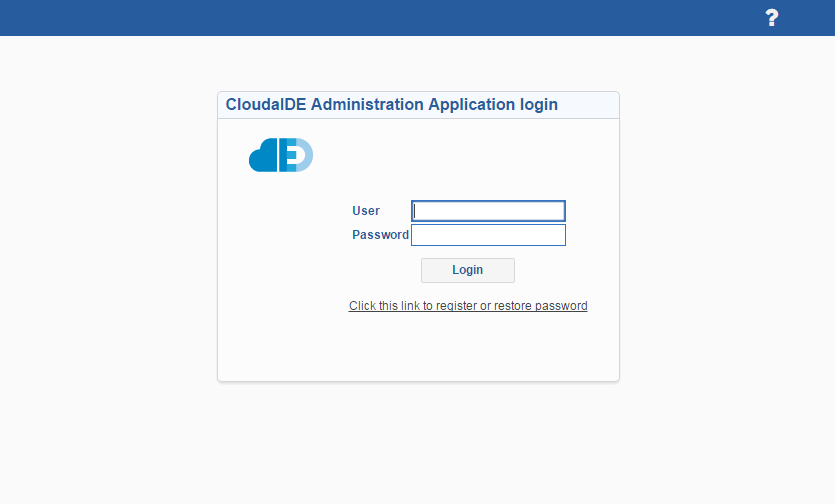
Figure 2.
CloudIDE Administration Application login page
The first user is admin and the password is changeoninstall.
After logging in the main console is displayed.

Figure 3.
CloudIDE Administration Application main console
Immediately after installation it is recommended to change admin password. Choose "My Data" option.
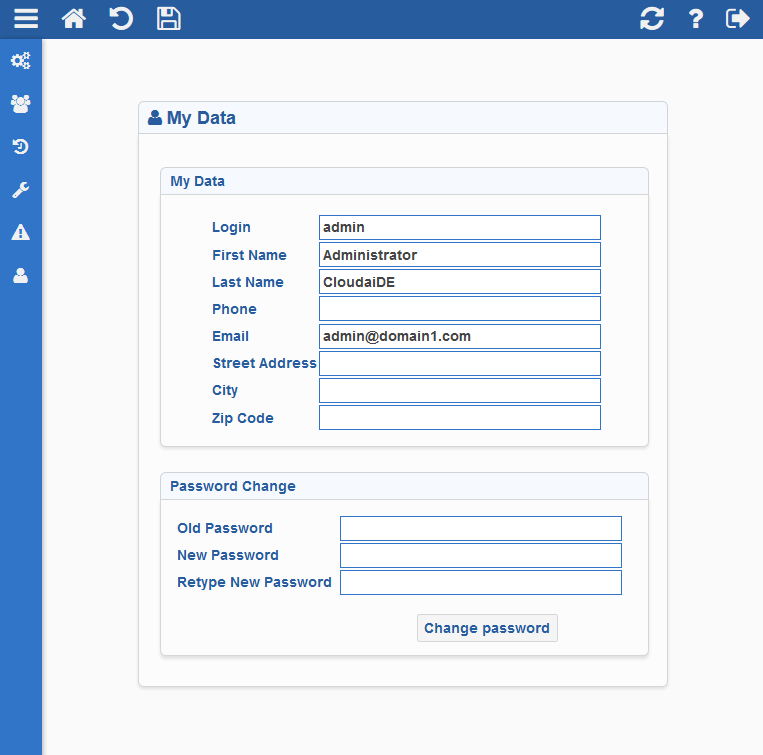
Figure 4.
CloudIDE Administration Application "My Data" form
Server setup
Server setup option gives the possibility to configure CloudaIDE server as a whole.
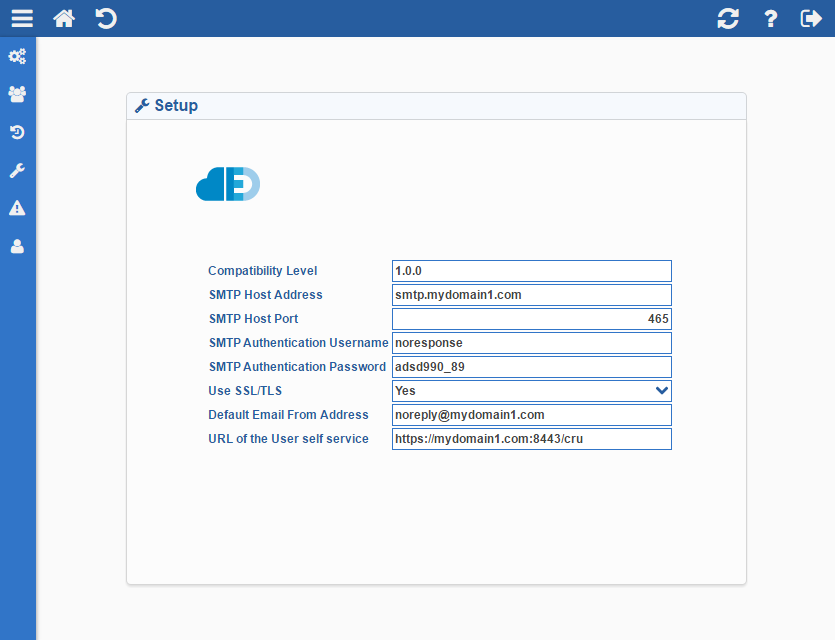
Figure 5.
CloudIDE Administration Application "Setup" form
- Compatibility level
- (read only) Server objects compatibility level
- SMTP Host Address
- address of the SMTP server used by system to send e-mails
- SMTP Host Port
- port of the SMTP server used by system to send e-mails
- SMTP Authentication Username
- name of the user used to authenticate to SMTP server
- SMTP Authentication Password
- password of the user used to authenticate to SMTP server
- Use SSL/TLS
-
- yes – encrypted connection
- no – plain connection
- after connection is established (STARTLS) – switch to encrypted mode after establishing a connection
- Default Email From address
- an address substituted into e-mail from field if it is empty
- URL of the User Self service
- URL of the User Self service application
Registering applications
The "Applications" option gives the possibility to register and set properties of an applications
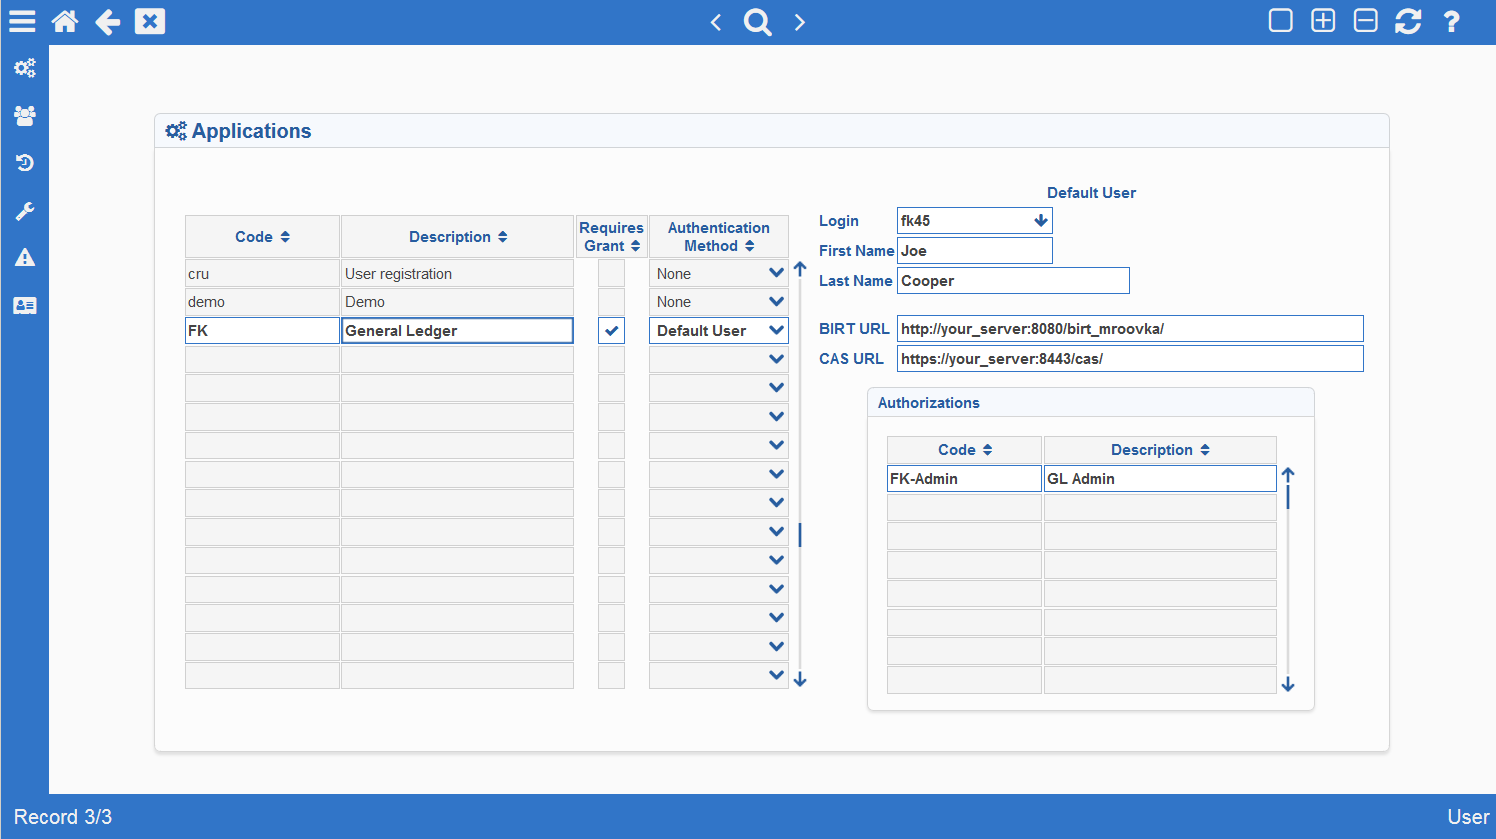
Figure 6.
CloudIDE Administration Application "Applications" form
To register an application fill in the following application data:
- Code
- the code of an application from application configuration file
- Requires Grant
- the right to use this application has to be granted for a particular user
- Authentication Method
- one of four values:
- None – no user authentication is requested
- Table – system stores the password data in the CloudaIDE table
- Database – system uses user database account data to authenticate an user
- CAS – system uses the password data in the CloudaIDE, but the authentication is carried out by CAS. This gives Single Sign On capability
- Default User – user selected in the default user list is logged in when application is called. This method is suitable for development and desktop installations
- BIRT URL
- URL of BIRT reporting server (including trailing slash)
- CAS URL
- URL of CAS authentication server (including trailing slash)
The administrator enters also a list of authorizations recognizable by the application. Authorization Code is the code that can be granted to a user.
Forms, blocks and non-database items have Authorizations property. It can be set in the designer. The property lists (one per line) all the Authorization Codes, that protect the element. If user does not have any of required Authorization Codes then the element is not created on the client. If the list is empty then the element is not protected by authorization mechanism.
User Management
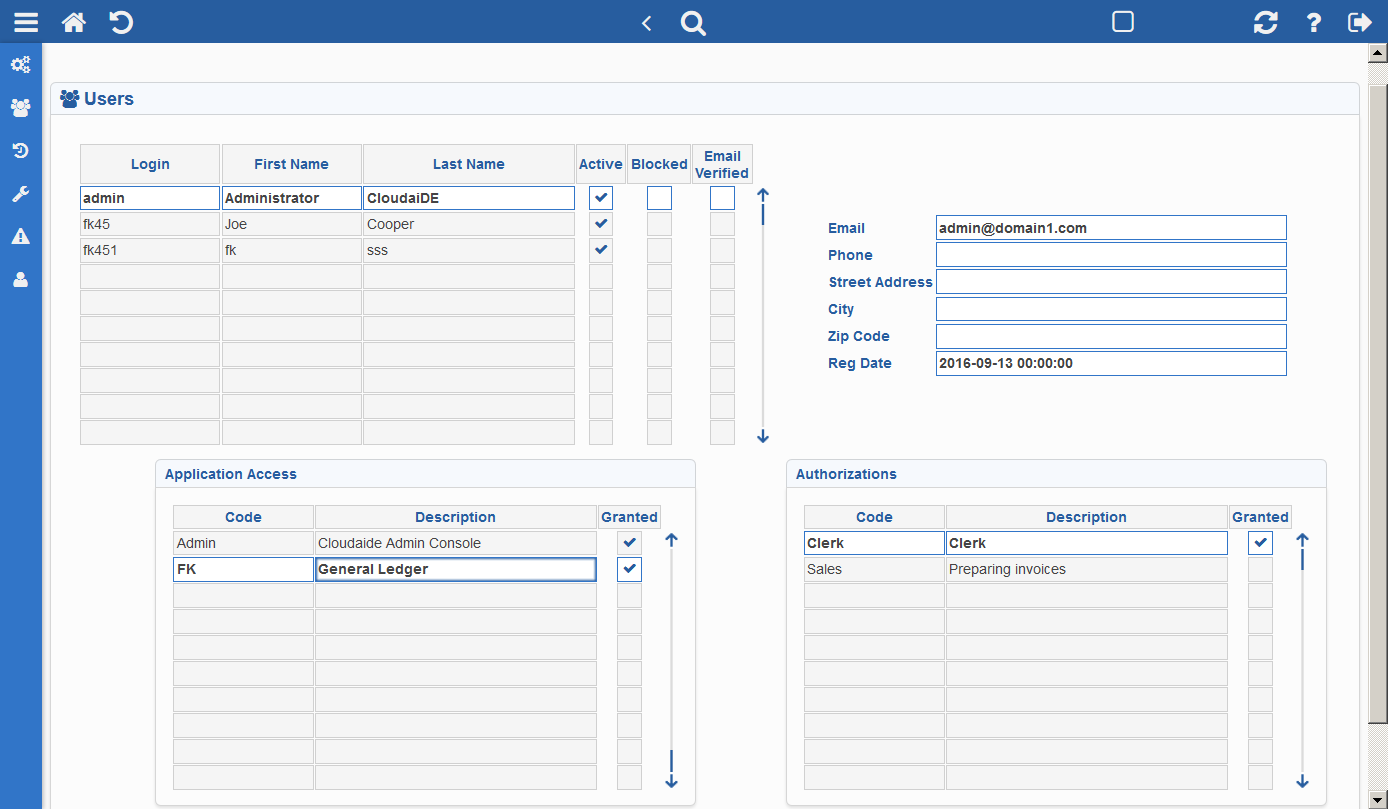
Figure 7.
CloudIDE Administration Application "Users" form
After choosing the “Users” option the administrator can manage users data and privileges
- Login
- users login – always in lower case
- Active
- has to be checked to let user log-in to any protected application. After user self-registration this checkbox is unchecked. The admin has to accept the user
- Blocked
- if for any reason the user is not allowed to log-in this checkbox is checked
- Email Verified
- user responded to e-mail verification e-mail message
- stored in lower case
By checking "Granted" checkbox in "Application Access" table the administrator grants the access to an application, that requires grant.
By checking "Granted" checkbox in "Authorizations" table the administrator grants an authorization (if the application has any) to the user.
Sessions
Sessions Form displays information about user sessions
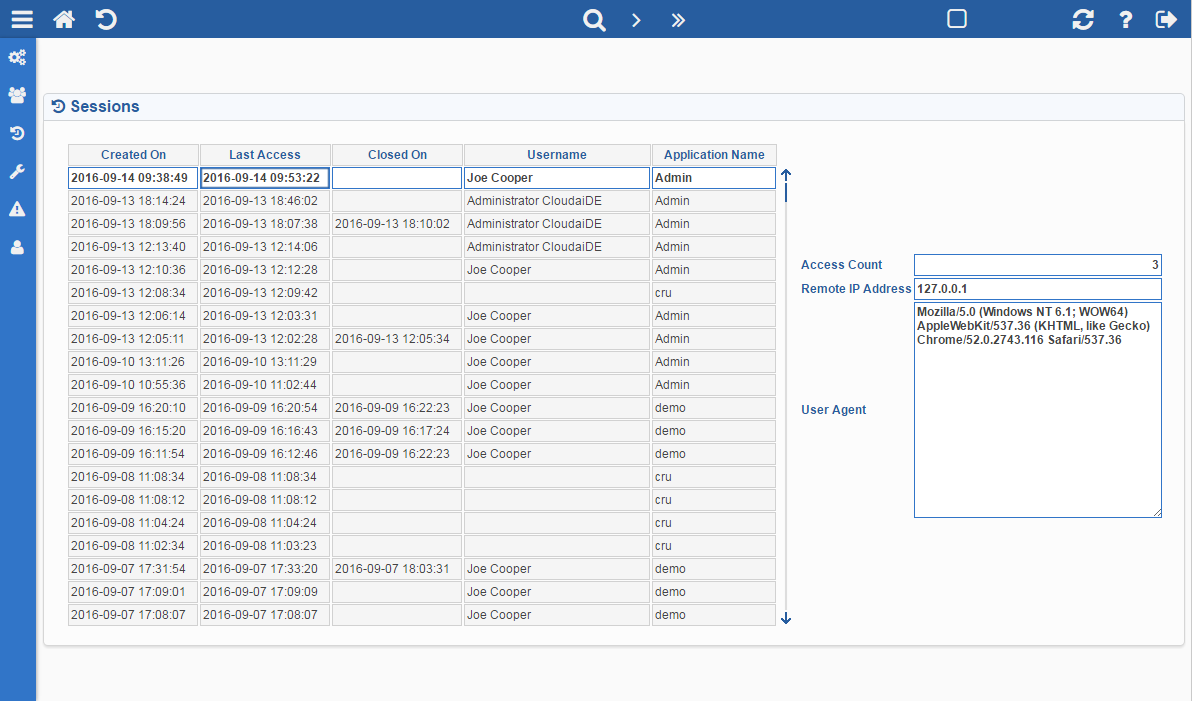
Figure 8.
CloudIDE Administration Application "Sessions" form
System Log
System Log form displays system log entries
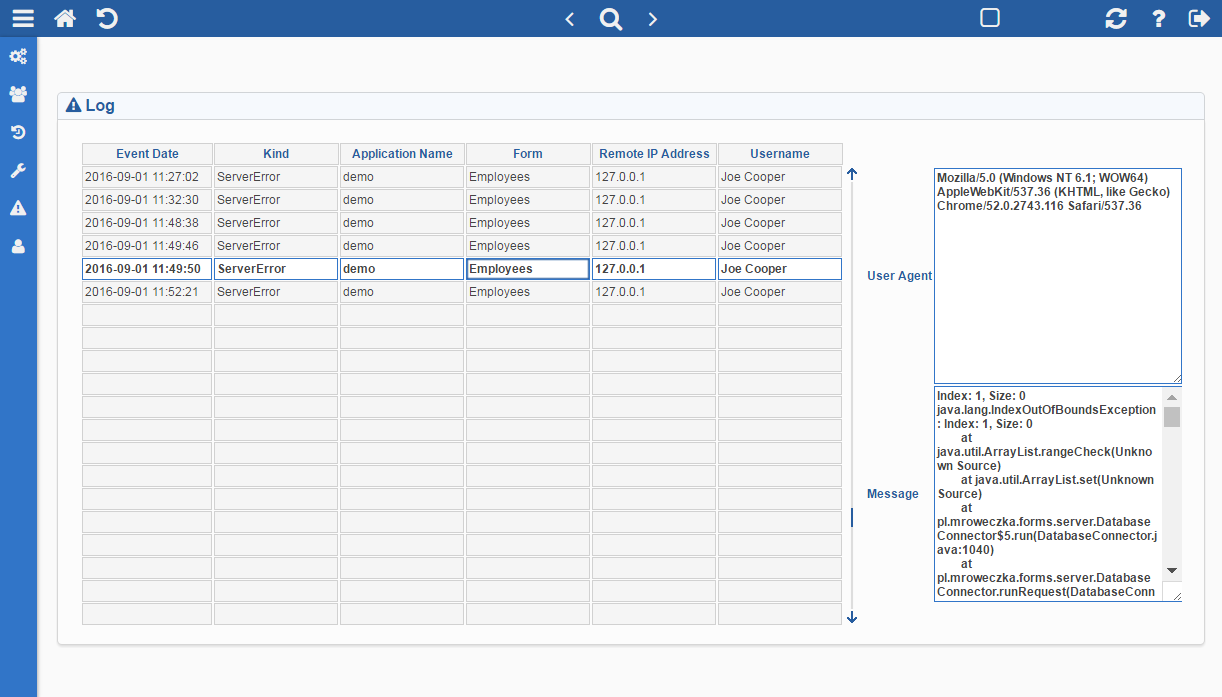
Figure 9.
CloudIDE Administration Application "Log" form
User self administration
User self administration utility (cru) lets the user to:
- register and account
- restore forgotten password
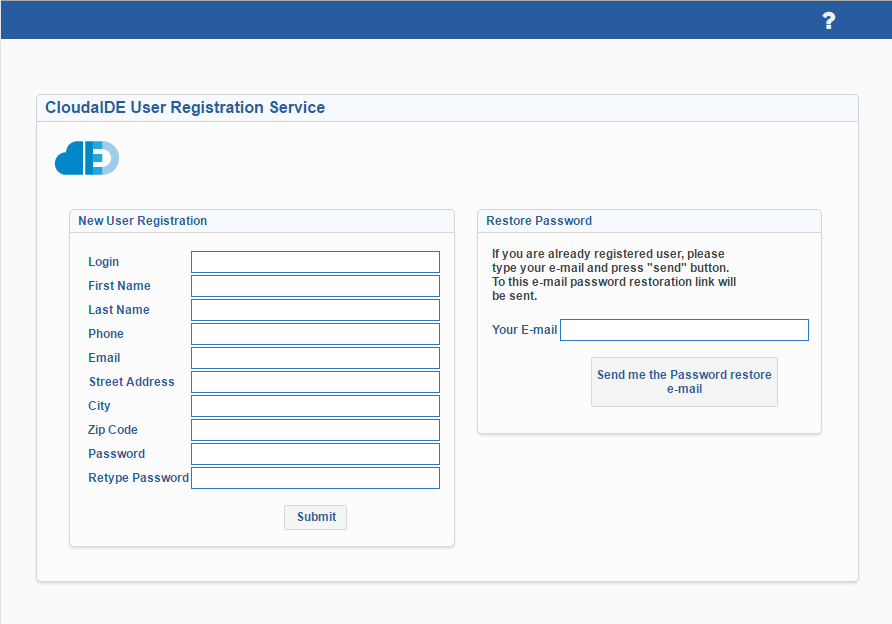
Figure 10.
CloudIDE User Registration Service
Reports Installation
The distribution media contains birt_mroovka application. You have to modify BIRT_VIEWER_WORKING_FOLDER parameter value WEB-INF/web.xml file to point to the folder containing reports definitions:
You have also to modify conf/Catalina/localhost/birt_mroovka.xml to set proper datasource parameters.
The develop report for the supplied preconfigured Tomcat server use BIRT Framework version 2.6.2. The Birt Framework 4.4.2 contains a bug 431702 that makes the development with it hard.
CloudaIDE distribution contains workspace for the respectful OS. The workspace contains following projects:
- Admin – administration utility
- cru – user self service utility
- Demo – demo application
- AdminMSQL – administration utility for the MySQL database
- DemoMSQL – demo application for the MySQL database
You have to comment/uncomment and modify mroovka.formica_cfg file. You have to set database JDBC url and user and password data to fit the database installation you use to develop the application.
The supplied tomcat server /conf/Catalina/localhost directory contains files:
- demo.xml
- cru.xml
- admin.xml
- demoMSQL.xml
- adminMSQL.xml
The contents of these files should be modified to fit your deployment
The webapps directory contains (among others) demo, cru, admin, adminMSQL, demoMSQL directories that contain respectful applications.
Upgrades
CloudaIDE has three part version number major.minor.compilation eg 1.0.345. Sometimes there will new versions of Cloudaide come to existence.
On every upgrade CloudaIDE projects have to be upgraded. To do it:
- Select the CloudaIDE Project (demo)
- Launch popup menu (right clik)
- Select CloudaIDE ➜ Project Upgrade (the option will show up if the upgrade is necessary)
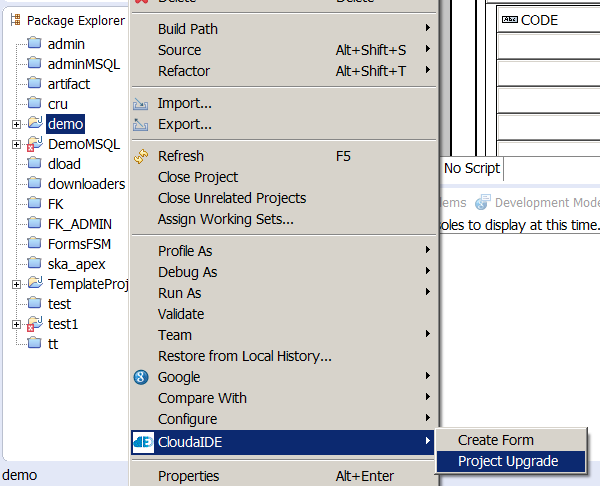
Figure 11.
Project upgrade
After clicking on the option a wizard will show up:
Upgrade Wizard creates a new project. Copies mroovka.formica_cfg file and contens of war/mroovka, mroovka and mroovka_java directories. Other changes (if there were such) have to be ported from old project manually. Old project is backuped up in backup project. The project is closed.
Care should be taken before upgrade'ing CloudaIDE. The very good idea is to make a backup copy of entire workspace.

Figure 12.
Project upgrade wizard
If the CloudaIDE has major.minor numbers greater than database object compatibilty level then server upgrade is necessary. To do it select Server upgrade option of CloudaIDE Actions toolbar button.
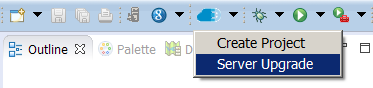
Figure 13.
Server upgrade
Next follow wizard instructions:
- Choose database system
- Click "Next"

Figure 14.
Server upgrade wizard - first step
Edit JDBC URL, user and password. You should choose the user with proper priviledges (the one CloudaIDE was installed for the first time). Click "Connect to the database", then "Next"
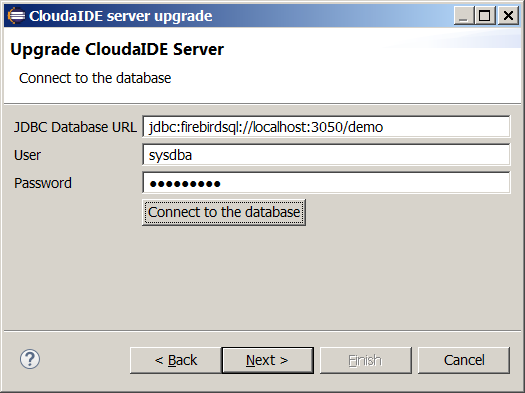
Figure 15.
Server upgrade wizard - second step
The wizard will display compatibility levels and depending on them will carry out the upgrade.
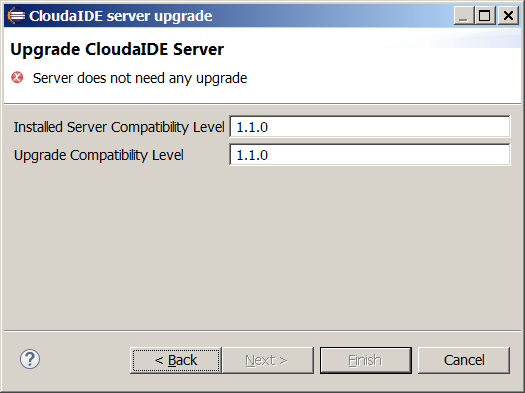
Figure 16.
Server upgrade wizard - third step